Help Desk: Contact for general troubleshooting and login issues: 716.828.3600

Click one of the links below.
ChangeGear Self-Service Portal:

- For issues experienced with HealthStream – Click Report an IT Problem
- For requests for new or updating courses, training on HealthStream features, or any other HealthStream-specific services – Click Request Service. Search for mychu and click myCHU HealthStream Service Request.
Service Request is NOT to be used for issues that you may be experiencing in HealthStream. Use the Report an IT Problem.
M-Files: Course Request Form to be attached to Service Request when requesting the build of educational content. Search for mychu. Monthly deadline is 10th.
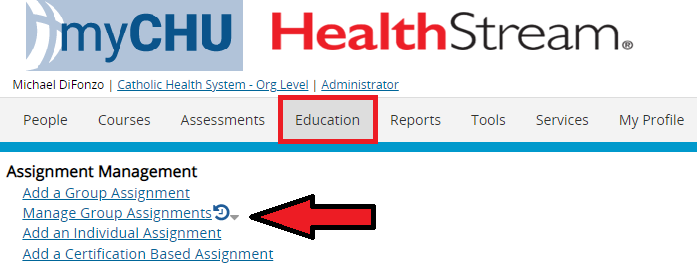
QSARF: HealthStream Admin Requests to be able to assign courses, run reports, register people for classes. Include site/department codes that access is needed for. Search for mychu.


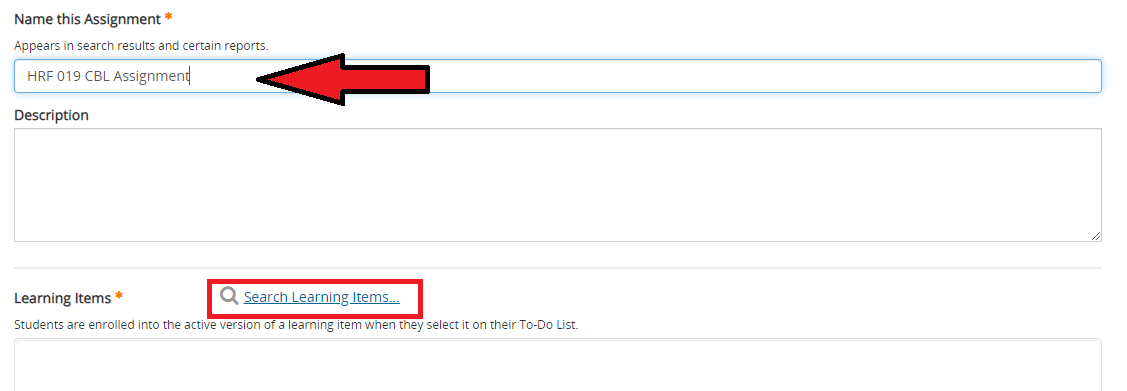 Search for hrf. HRF 19 Curriculum will be displayed (noted by the stacked books icon). Note: version date may be different if the curriculum has been updated. Click to select the curriculum then click Select button.
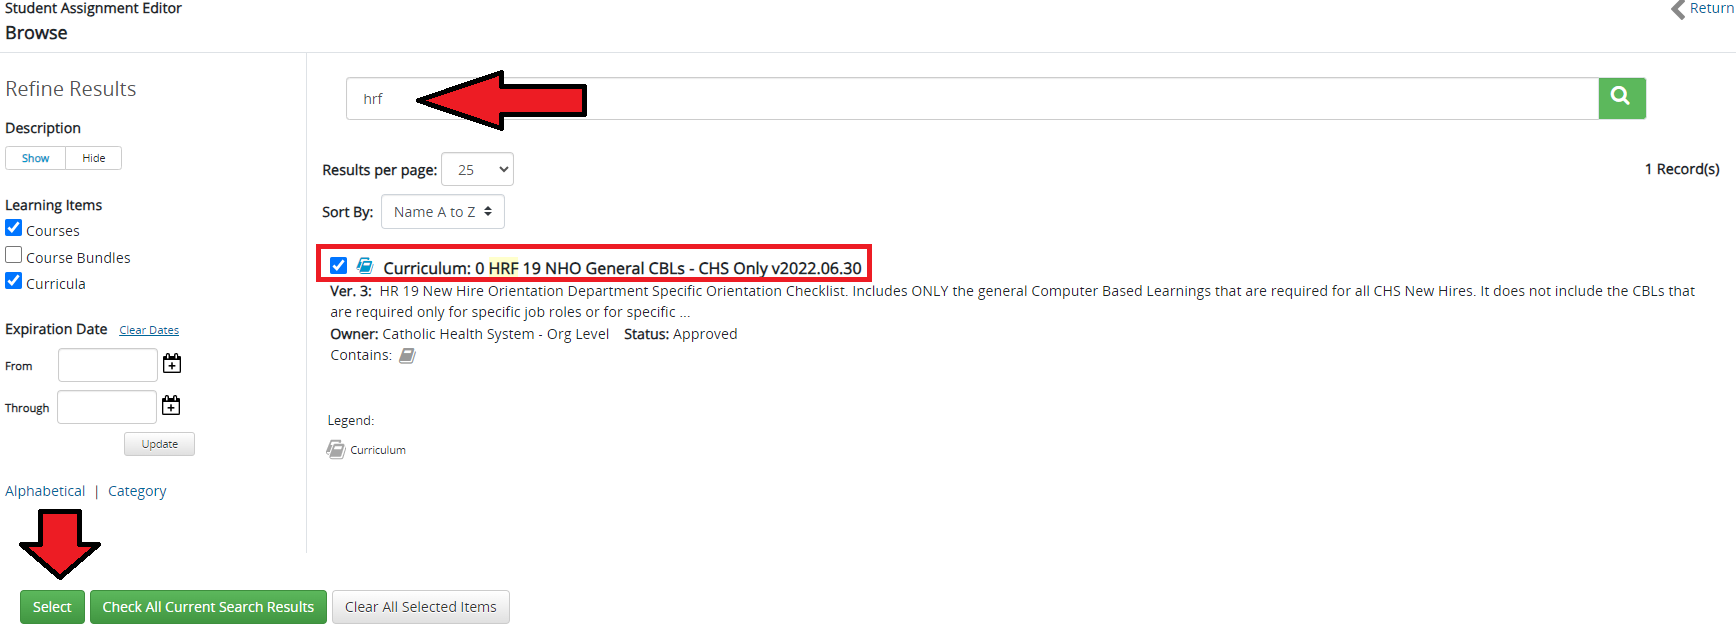


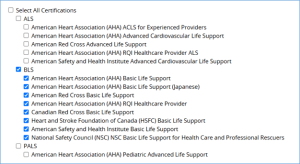
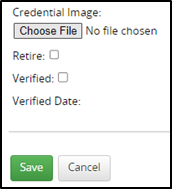
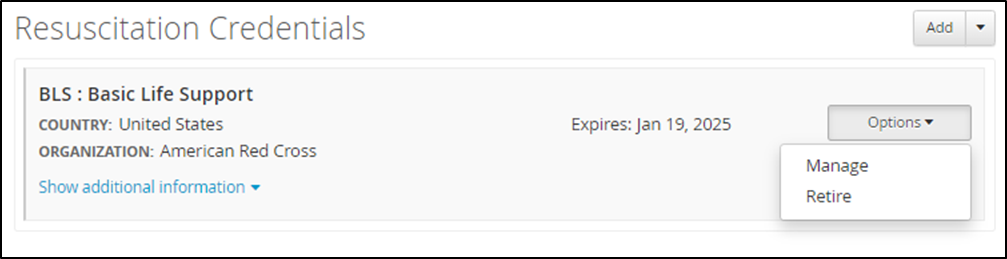
 Select Report by Certification (example: American Red Cross BLS).